

1st attempts at Schlieren
Brought to you by Chris Davidoff, November 12, 2018. This image was made with Owen Brown and Casey Munsch.
I originally stumbled into this type of photography on youtube. I was immediately awestruck. Needless to say, I really wanted to make an attempt at it. This is my team’s second project and we chose to create a Schlieren setup using parabolic mirrors. The intent of our images was to capture the layers in a transparent medium that have a different density than its surrounding medium. Basically, if something is hotter or colder than the surrounding air, we will see it. In addition, if it’s a different type of material that is more dense or less dense than the air around it, we will see that too! This experiment took us a while to setup. The setup drawings are confusing, and we couldn’t get any kind of image to show on my camera. Eventually we did figure it out and the first images came through. It was a very exciting moment.
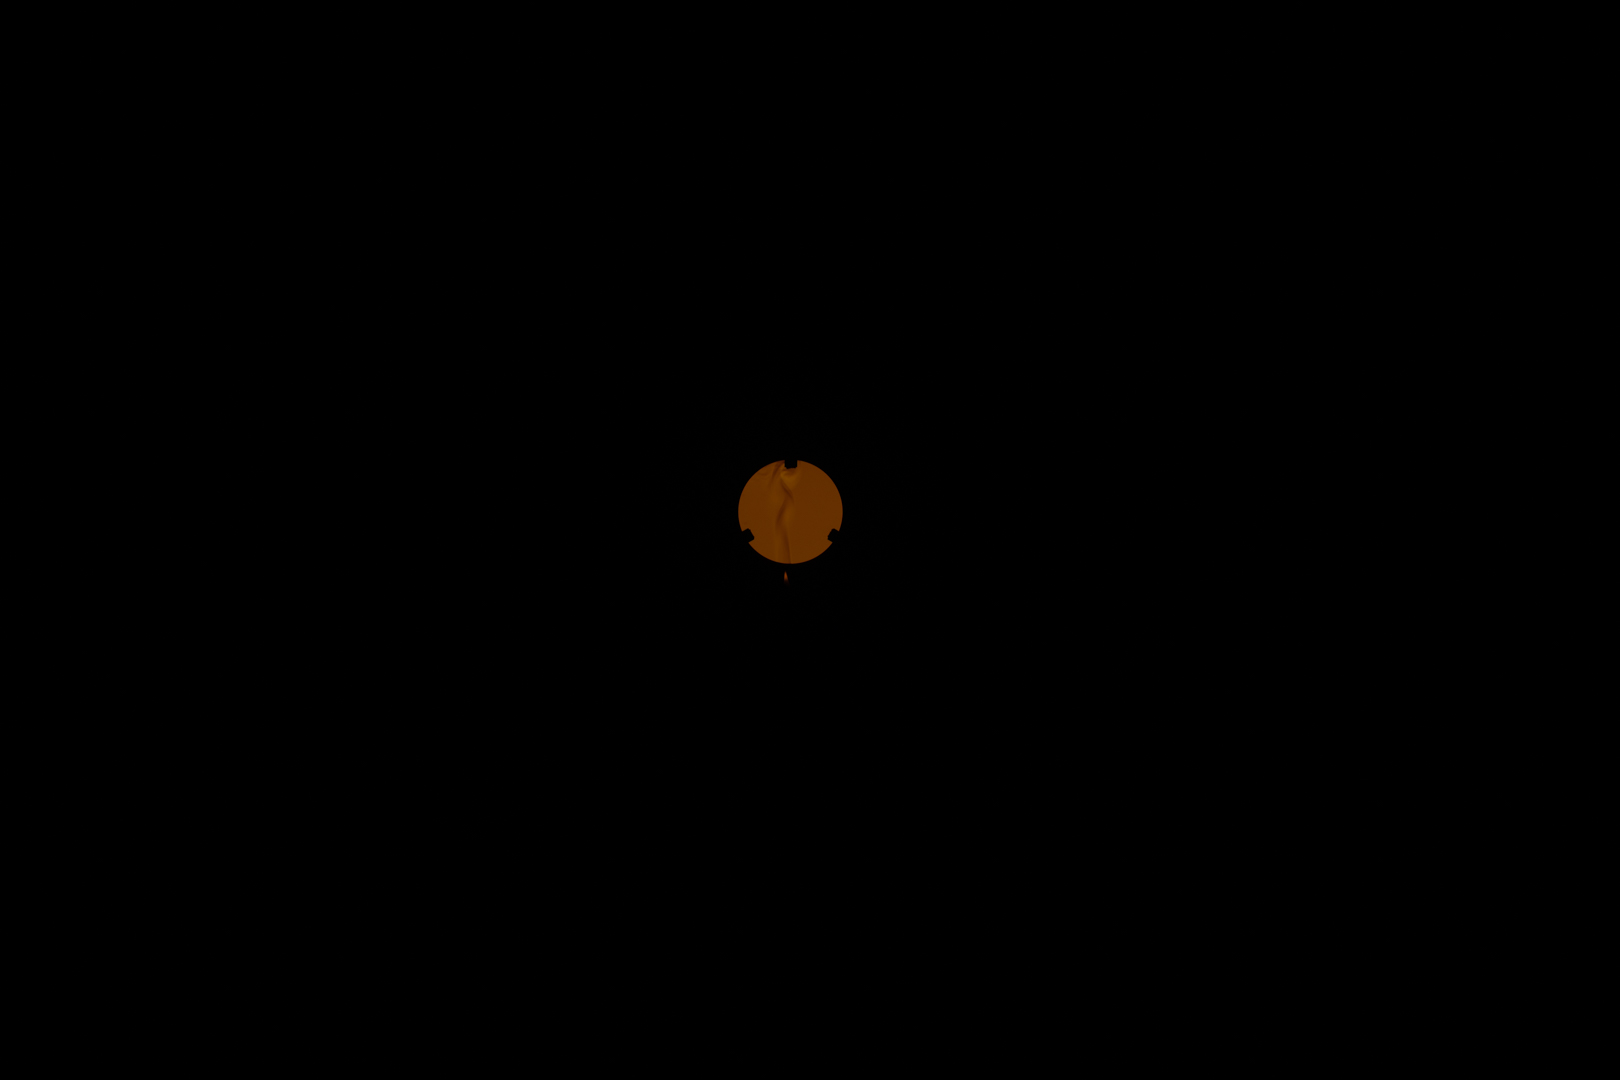
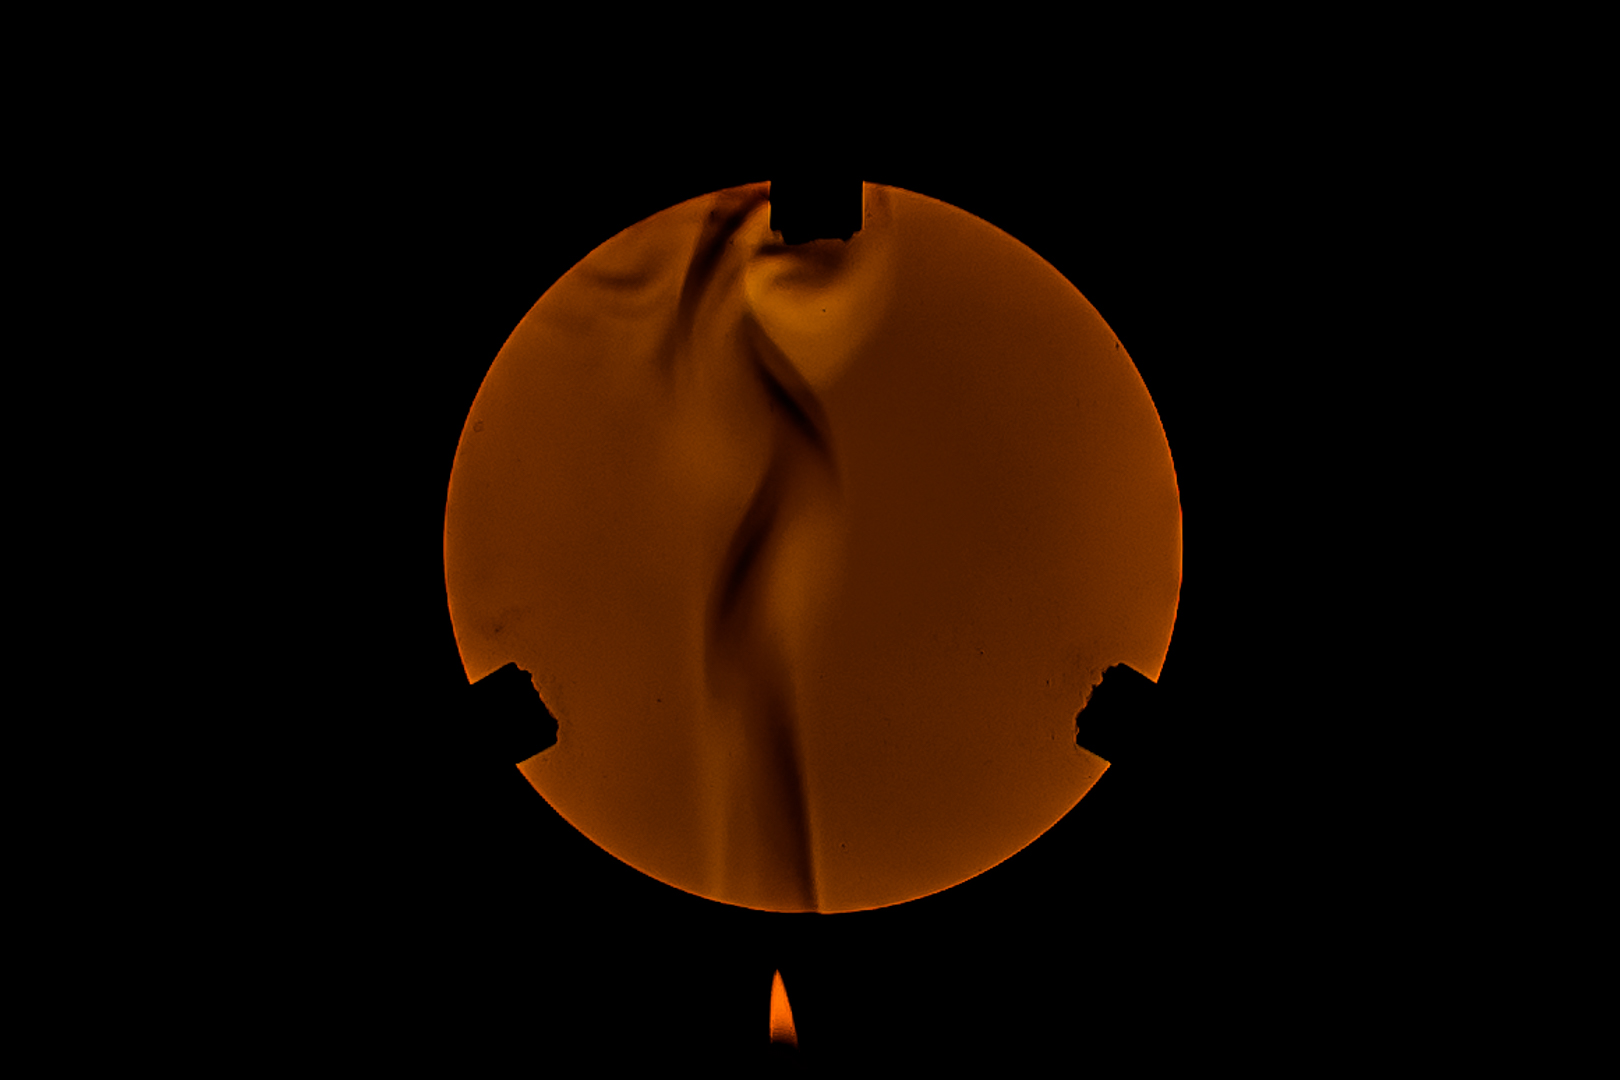
To visualize a flow, we chose to use a candle. You can see the flame in the top left image. The resulting heat causes the air to become less dense. This can be seen in the schlieren effect rising directly above it. The resulting laminar flow can be seen rising up. In some of the other images, it became very turbulent. The top left image shows it pretty steady until the top of it. These visualizations are the result of the hot air being less dense than the air around it. It thus floats up. As it floats up, the outside areas of the heated gas cool down and don’t rise as fast as the inner parts of the gas. This is what causes the turbulence. This is also known as a “transitional flow”, when the flow moves from a laminar to a turbulent flow.
The technique used to create this image is as said before, a ‘schlieren technique’. The only lighting used was a headlamp to point at the mirror. Schlieren performs better from small point sources of light, and it doesn’t need very much light at all. In fact, my camera was set to reduce the light coming into the sensor almost as much as possible. We shot this in a garage, but interestingly enough, we could leave the lights fully turned on and it didn’t affect the image. The outside area of the mirror remained pitch black. The setup looked like the diagram below..
(image courtesy of https://wiki.brown.edu/confluence/display/PhysicsLabs/6A40.20+Schlieren+Imaging)
The distance from the light and mirror are 2F. That is, 2*focal-length of the mirror. Our 4″ mirror had a focal length of ~3ft, so we placed our camera and light 6 feet away. We used my D850 with the 55mm Zeiss. This would have been better with zoomable lens however, 55mm is far too far away to image a 4″ mirror.
Camera settings:
- ISO 50
- 55mm
- f1.4
- 1/8000
I then applied some post-processing. Here is the before and after respectively:
In the end, I am pretty pleased with what we came up with. However, I think we could do much more in terms of what we are trying to visualize. Our team also wants to use the larger mirrors for our third project, so we are looking forward to capturing more realestate for this effect. We also learned how to work the knife-edge properly and are excited to incorporate that better, as well as using the color gels. Be on the look-out for our third go at this, they should look pretty darn cool!!
16 Comments. Leave new
I understand this is hard to do. Great job! The filters and different frames really helped express the motion. Could you leave a better description on your photo?
Very nice representation of this fluid flow phenomenon! I like the composition of the image and the color division, especially the two-tone color in the bottom left.
I really like this picture, the amount of work you guys put into capturing it is quite evident. Well done!
I like that you added color and contrast to these images because it really enhances the details.
Very cool! I like how you can see the lit match in the first image to give it some perspective. The experimentation with gels is interesting as well.
great selection of images. I like the colors.
Very cool. I like the colors used to enhance the image. Including the flame helps to show what’s going on.
This created a really cool series of images. I like the color choices you made with these, especially with the bottom two. The bottom left at first glance almost looks like a horizon rotated 90 degrees, and it’s cool how the dividing line is black and white, gives it really cool contrast.
SO COOL, SO FRICKEN COOL. Yeah, nice job with the picture, very nice vortex ring formation. Also the bottom left has a very nice split color.
Really love the varying colors. The lower left is definitely my favorite, showing the turbulent flow of the two different colors mixing
Nice images – it’s fun to see a combination of different forms of the plumes, so we see the concept not just one example of the flow. Good job!
Create Pictures. The pictures you chose t present are really good. great work.
I really like the 4 corners of the photo. I like how you decided to take images of different colors and put them together with the black in between.
the contrast of the 4 different images really amplifies the fluid phenomenom happening. What caused the differnt types of flow?
These images are awesome! The first red-ish color looks so cool. Great idea!
Wow I love the framing of these images. The circular frame with slight indents provides an excellent view. I like the colors in the top left image!