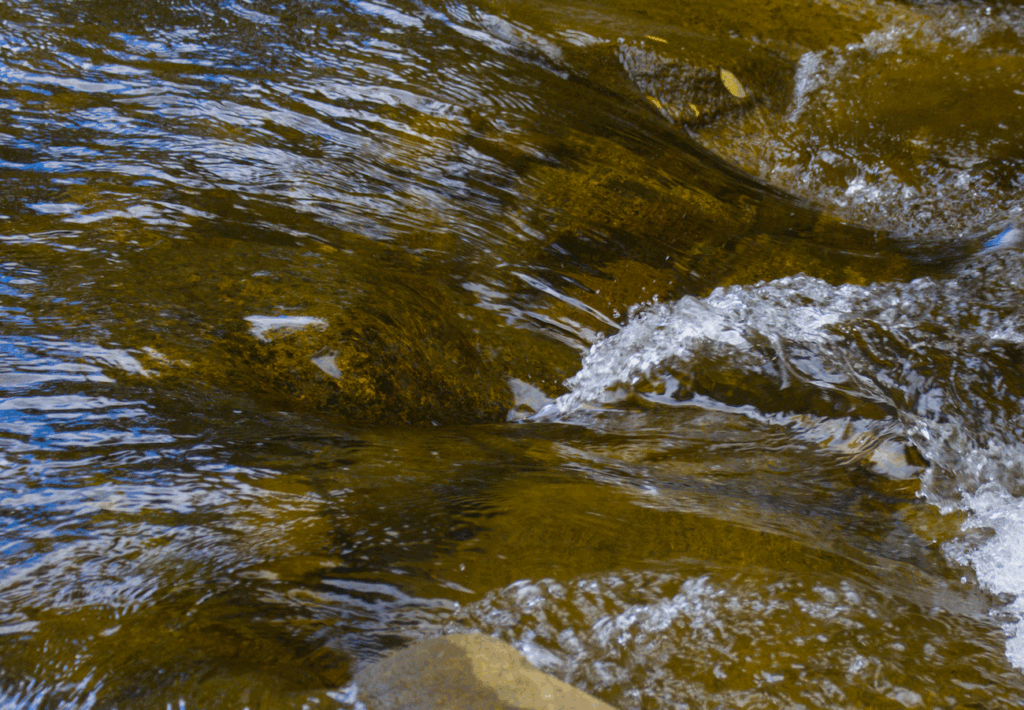
Water moving through a setup creek, the rocks were aligned so the water would move towards a “jackknife”, creating a turbulent flow.
Cort Sommer – Get Wet Report
Categories
Flow Vis Guidebook
- Introduction to the Guidebook
- Overview 1: Phenomena. Why Does It Look Like That?
- Overview 2: Visualization Techniques
- Overview 3: Lighting
- Overview 4 - Photography A: Composition and Studio Workflow
- Overview 4 - Photography B: Cameras
- Overview 4 - Photography C: Lenses - Focal Length
- Overview 4 - Photography C: Lenses - Aperture and DOF
- Overview 4: Photography D: Exposure
- Overview 4 - Photography E - Resolution
- Overview 5 - Post-Processing
- Clouds 1: Names
- Clouds 2: Why Are There Clouds? Lift Mechanism 1: Instability
- Clouds 3: Skew - T and Instability
- Clouds 4: Clouds in Unstable Atmosphere
- Clouds 5: Lift Mechanism 2 - Orographics
- Clouds 6: Lift Mechanism 3 - Weather Systems
- Boundary Techniques - Introduction
- Dye Techniques 1 - Do Not Disturb
- Dye Techniques 2 - High Visibility
- Dye Techniques 3 - Light Emitting Fluids
- Refractive Index Techniques 1: Liquid Surfaces
- Refractive Index Techniques 2: Shadowgraphy and Schlieren
- Particles 1- Physics: Flow and Light
- Particles 2: Aerosols
- Particles 3: In Water
- Particles 4 -Dilute Particle Techniques
- Art and Science
- TOC and Zotpress test
- Photons, Wavelength and Color
4 Comments. Leave new
Great picture Cort! I didn’t know that I was looking at a “jack-knife” at first, but I was able to see what you were trying to make after you described it. You can still see the flow details in this image, but if you were looking to capture more, you could try shortening your shutter speed.
I think it’s really interesting that you were able to create this intentionally as a phenomenon to photograph.
I really like how in this image you get the smooth flow over the larger rock that then falls over into the jackknife turbulence.
I liked that you were able to recreate a naturally occurring effect in rivers, and get a good picture of it.