Whiskey and Water
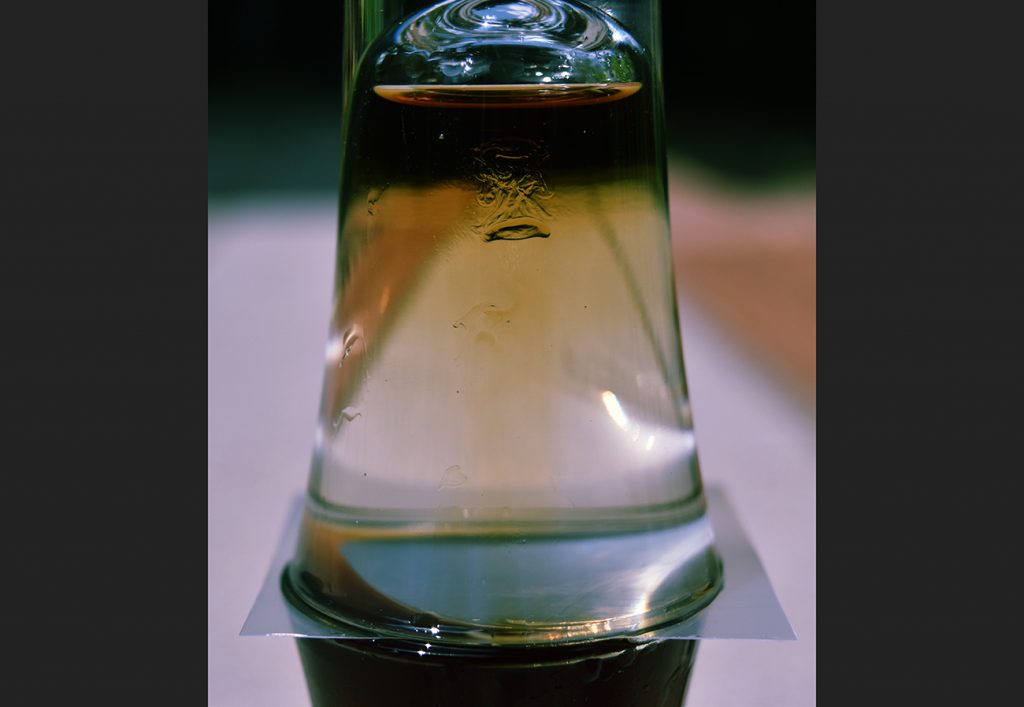
The “Whiskey and Water” trick is a classic bar trick with some interesting flow visualization that I initially learned from the YouTube show Scam School. In this video, the host Brian Brushwood presents the trick as a challenge where one shot glass is full of water and the other is full of whiskey. In order to win the bet, you must get all of the whiskey into the water glass and all of the water into the whiskey glass without using any third vessel (Brushwood 2009). The solution is to cover the water glass with a card so it can be flipped upside down on top of the whiskey glass; if the card is pulled back just slightly to make a very small opening, the whiskey and the water will slowly switch places. My picture submission is of this vertical swap of whiskey and water. I thought there were some interesting shapes when it was looked at close up, so I decided my main submission would be a close picture, but I also took a timelapse from farther away to help describe the flow.
Science/Apparatus
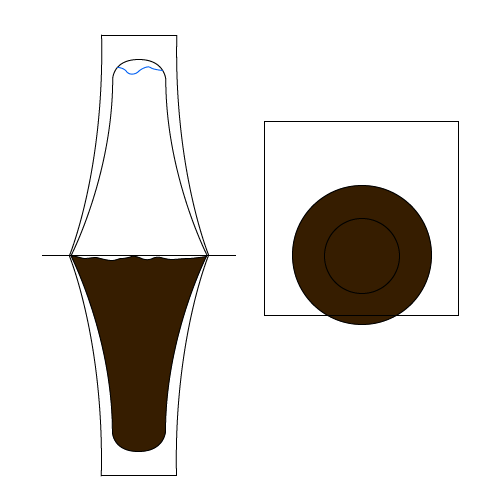
The apparatus for my experiment is illustrated in fig.1. My experiment was done with two shot glasses that represent hyperboloid sections, a thin square of plastic used to separate the shot glasses, water, and Kraken rum instead of whiskey (this will be explained more in the third section; I will usually refer to it as whiskey still). No lights were used because the shot was taken outside in the early afternoon sunlight. The shot glasses are identical, both 33mm at the base and 51mm at the mouth of the glass. Each holds 2 fluid ounces, and were filled to the brim. With the help of the plastic separator, the water glass is placed upside down on the whiskey glass, and the separator is partially removed to create a crack between the two glasses.
The reason the whiskey and the water swap places in this experiment is because ethanol at 789 kg/m3 is less dense than water at roughly 1000 kg/m3, and hard liquor has a significantly higher ethanol to water ratio than tap water does (Engineering 2018, Engineering 2003). The Kraken rum used in this experiment in particular is 46% alcohol by volume, meaning we can estimate the “whiskey” in our experiment has a density of just over 900 kg/m3. The whiskey and the water will combine into solution rather easily, so it is important to keep the hole where fluid transfer can occur small. When the whiskey is rising up into the water in the top glass, it is a less dense fluid that is jetting into a more dense fluid, and because of that Rayleigh-Taylor instabilities occur, creating the interesting shapes and mushroom cloud like appearance captured in the main image submission (Sharp 1983).
Visualization Technique
The visualization technique used here is a “seeded boundary technique” as described by lecture 3 in the class. We’re using the color present in the hard liquor compared to the lack of color in the water to see the boundary between the liquor and the water. This is why I chose to use Kraken rum instead of the traditional whiskey for this experiment. Kraken is a “black spiced rum” meaning it has an excessive amount of caramel color in it, perfect for the dye in our seeded boundary technique. Regular rum, or whiskey would be much more challenging to see and photograph. This does change the experiment slightly, because most whiskeys are 40% alcohol by volume rather than the Kraken’s 46% used in my experiment. This would bring the density of the liquor up to 915 kg/m3 meaning the experiment would have taken longer overall and the visual effect from the Rayleigh-Taylor instability would be lesser. To separate the shot glasses from each other I cut a square of clear plastic out of a binder separator. I wanted it to be clear so that it wasn’t distracting in the final image.
Photographic Technique
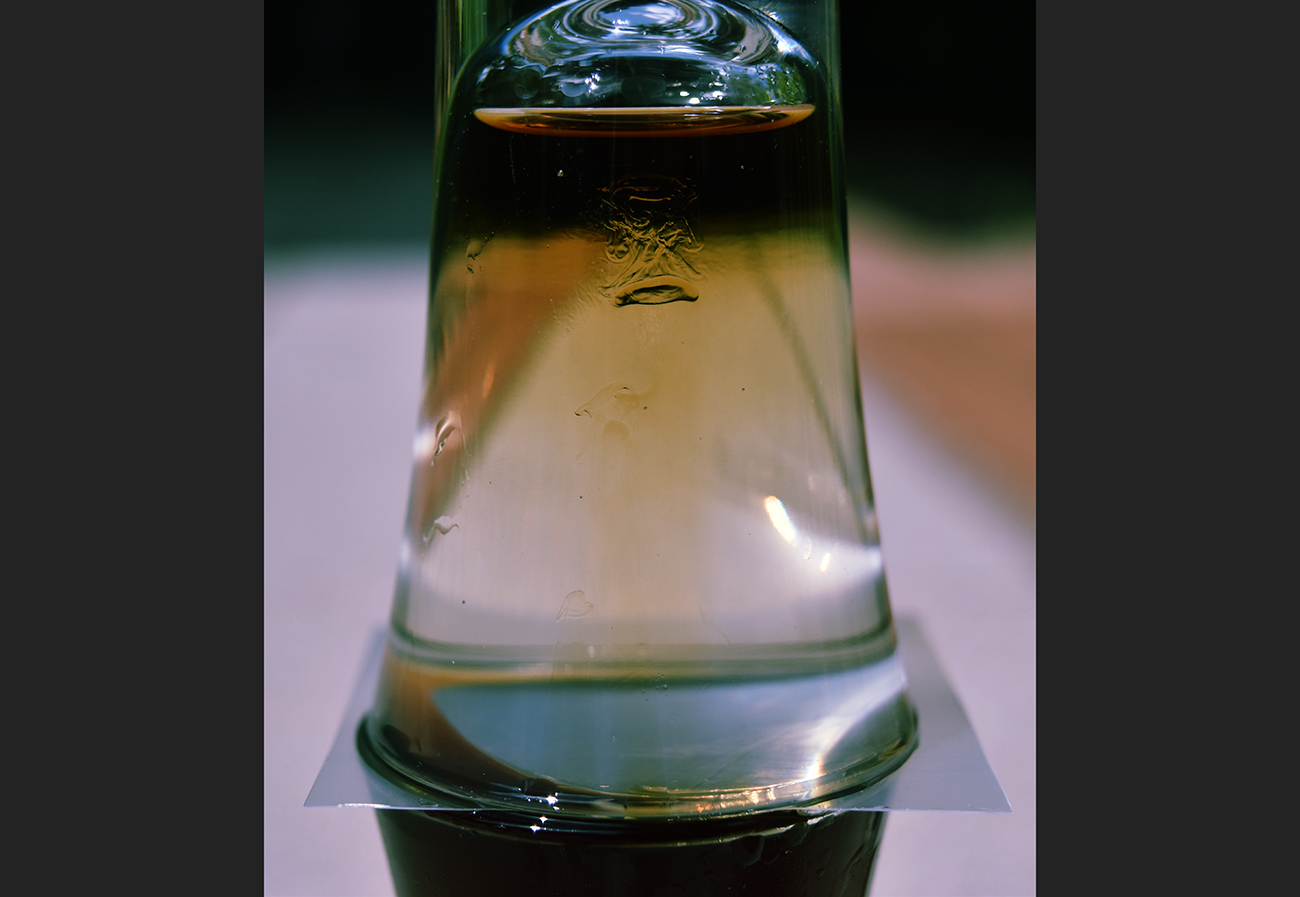
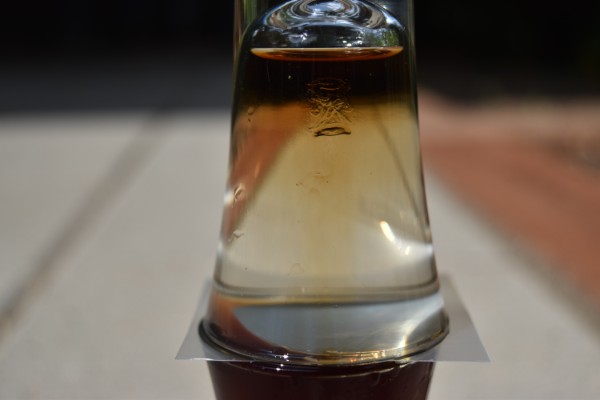
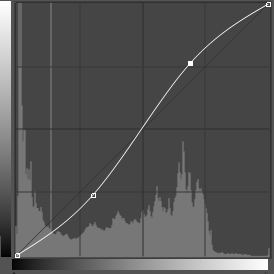
Like mentioned in an earlier paragraph, I took this photo outside in the direct sunlight to maximize the overall amount of light hitting the fluids and I wouldn’t have to worry about setting up artificial lighting. The sun was coming from the top right of the photo, but also behind the apparatus from the camera as well. This meant that while there was a glare from direct sunlight, it was on the back side of the glass which was not in focus, so it was less distracting. Even though the glass was only 51mm at its widest, I was able to have a shallow enough depth of field with an aperture of f/4.8 and focal length of 38mm. In order to freeze the flow in time with the shot, my shutter speed was 1/2500 seconds, and my ISO was 200 because I was outdoors but I still wanted some sensitivity to compensate for the fast shutter speed. The apparatus was about 100mm away from the camera lens, and the glass takes about 29% of the approximately 115mm field of view in the original image. But I have cropped the posted image down to only having a 55mm field of view, because the glass is only 33mm wide at its thinnest point, and cropping the width helped focus more attention onto the flow. An important note for all of these field of view calculations is that the picture wasn’t taken perfectly horizontally, but instead was angled downward causing the field of view to be about 18% wider at the bottom of the glass than the top. The camera used was a Nikon D5500 with the kit lens, and the original image resolution is 6000×4000 pixels, while the final submission is 1300×897 with grey bar padding on the sides as specified in submission instructions. The final photo was edited from the original photo in fig. 2 using the curves shown in fig. 3 to increase contrast.
Conclusions
I think that the photo was able to capture some really cool effects with the different densities of the fluids, but the close up still picture doesn’t really capture the whole scene of what is happening. That is why I also took a timelapse as secondary material. (This timelapse can be found on flowvis.org). During the critique session some people commented that if I had put more editing and effort into the timelapse, that would be more interesting as the main submission. That and not having a plain white background are the two areas where my photo could be improved the most. But at the same time, I’m still quite proud of the photo I was able to turn in.
References
Brushwood B. [Scam Nation]. (2009, December 29) The Amazing Whiskey/Water Trick [Video File]. Retrieved from: https://youtu.be/x5byCD5Yfck
Engineering Toolbox, (2018). Ethanol – Density and Specific Weight. [online] Available at: https://www.engineeringtoolbox.com/ethanol-ethyl-alcohol-density-specific-weight-temperature-pressure-d_2028.html
Engineering Toolbox, (2003). Water – Density, Specific Weight and Thermal Expansion Coefficient. [online] Available at: https://www.engineeringtoolbox.com/water-density-specific-weight-d_595.html
Sharp, D.H. (1983, January 1) Overview of Rayleigh-Taylor instability. Physica D: Nonlinear Phenomena vol.12
19 Comments. Leave new
Cool timelapse, I think the frame and background you used are nice.
Great macro photo. I think it may be visually more effective to crop the lower half out,so that the focus is entirely on fluids, rather than the glass.
Great job. I like the video showing the transition of the two liquids. Great focus!
I like the photo, maybe try adding fluids with brighter coolers next time?
I think the picture would benefit from a solid color background to see the gradient color of the liquid better.
The visual vortices in the glass are beautiful. I love the time-lapse of the fluid transition
I think this image can be improved by having a darker background
I love this visualization. I wish there was a more blank background and that the video was zoomed in further.
I love how clear the vortex is. I think the image would be more moving if it was cropped closer to the main focus and the glasses were a little less distracting.
Very interesting and well documented process in your work.
I really enjoy the inclusion of the slow motion video to better understand the science behind the image.
I really enjoy the trickery of the image, it’s hard to tell which is up and which is down (something I appreciate)
The timelapse gives a nice way to see the effect! And i think that you’re right about the dark fence in the background giving a fasle impression of the behavior.
Nice shot! I like the provided timelapse video!
I like the added timelapsed video. It is neat to see the fluid interactions. Maybe try a white background to get rid of the false illusion of whiskey on top
The detail and focus in this image is incredible. I love how you managed to even capture the small imperfections in the surface of the glass and the water droplets.
Did you use any backlighting for the image, or did you only use the lighting that was in the environment?
I really like the depth of field of this photo, and the image is very crisp and clear.
This is a very effective picture. I really appreciate the simplicity of this image. beautiful.