Clouds First // Brian Gomez
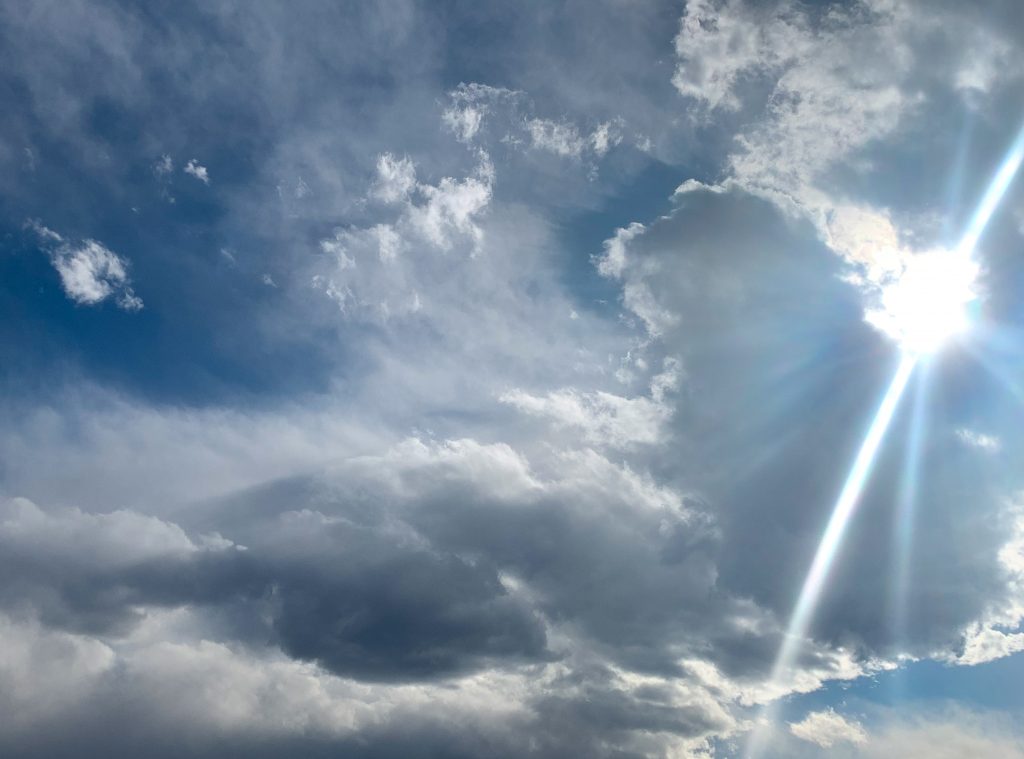
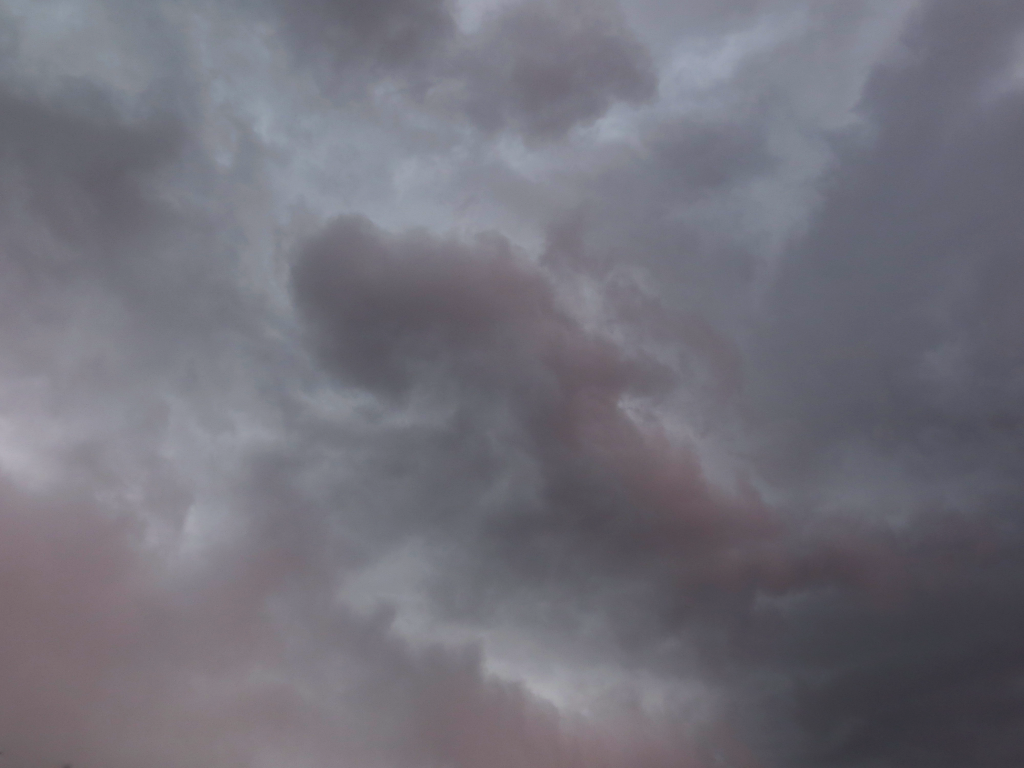
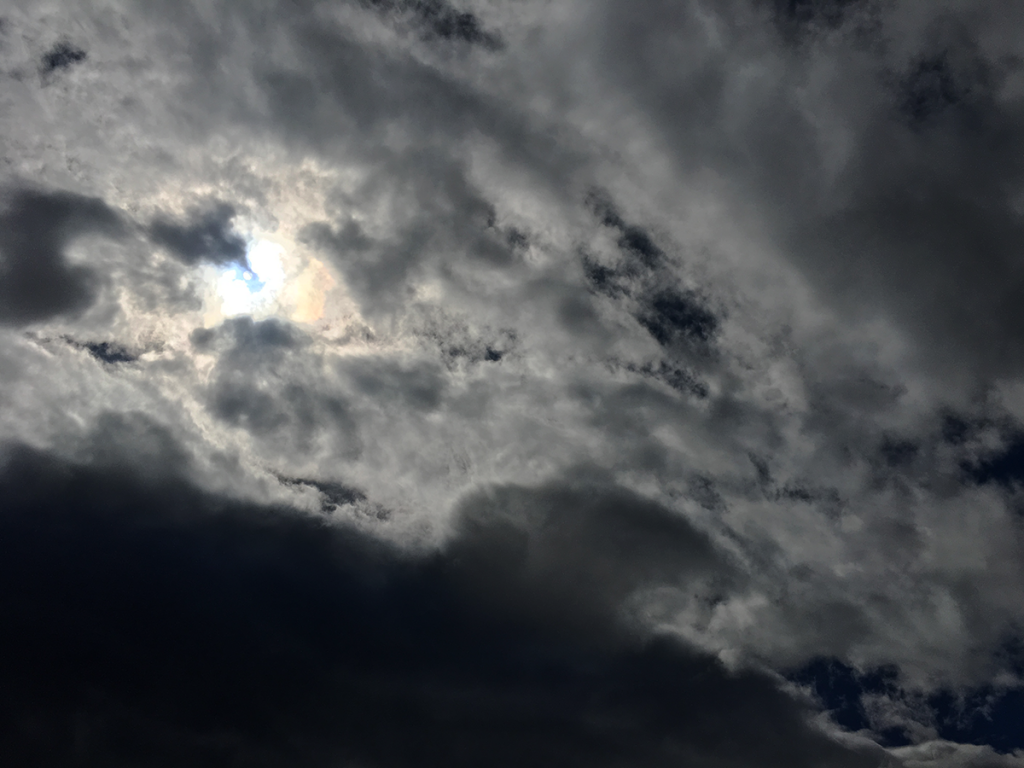
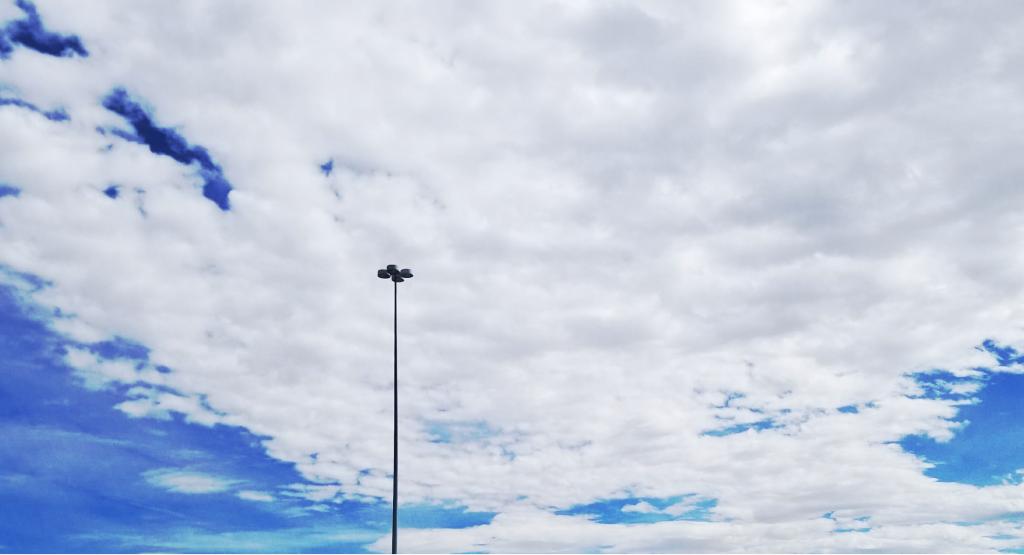
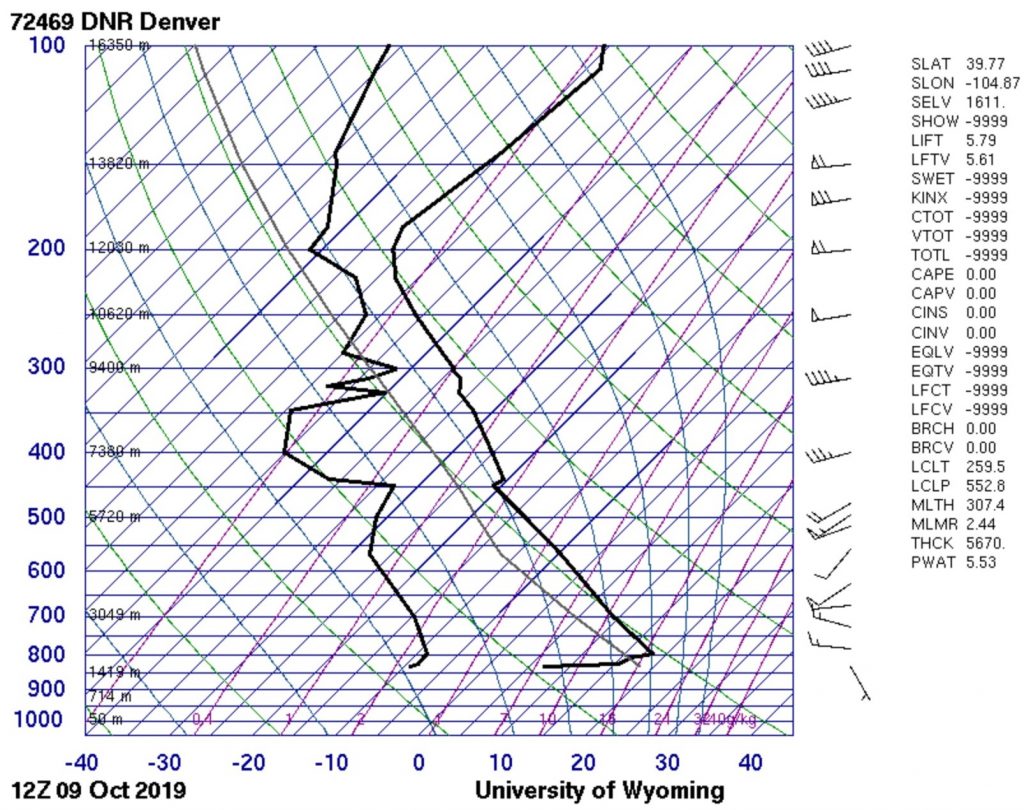
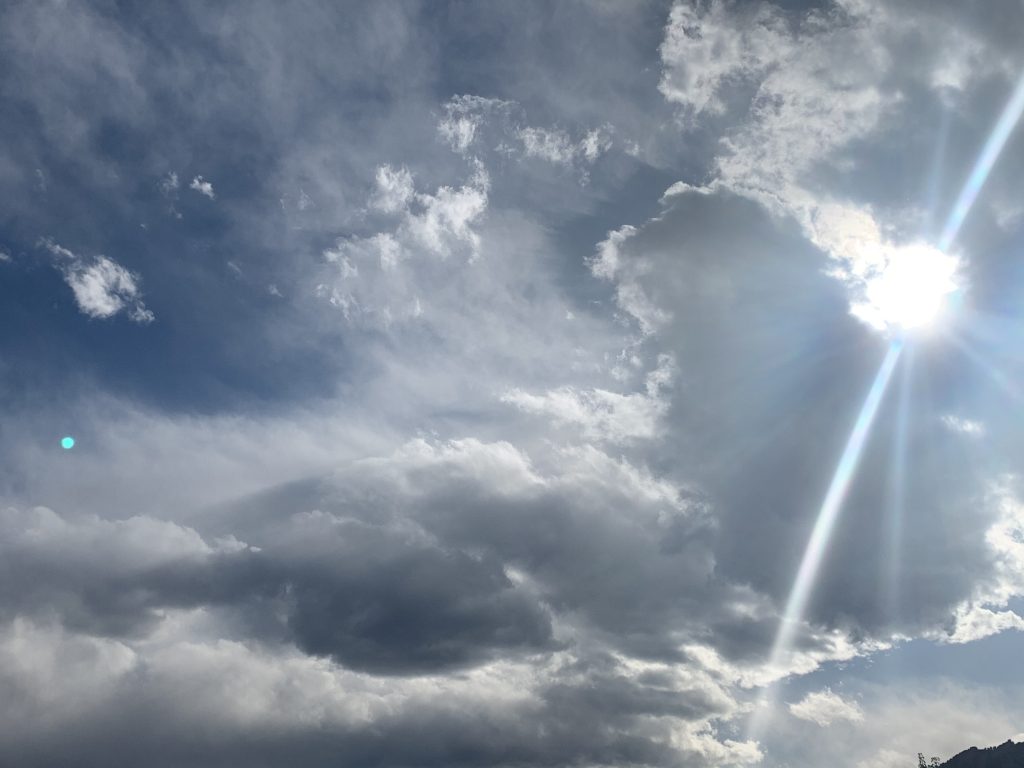
This is an image of stratocumulus clouds taken on October 9th, using an iPhone XR and edited in Adobe Lr. According to the skew-t diagram, the atmosphere was stable around this time.
This is an image of stratocumulus clouds taken on October 9th, using an iPhone XR and edited in Adobe Lr. According to the skew-t diagram, the atmosphere was stable around this time.